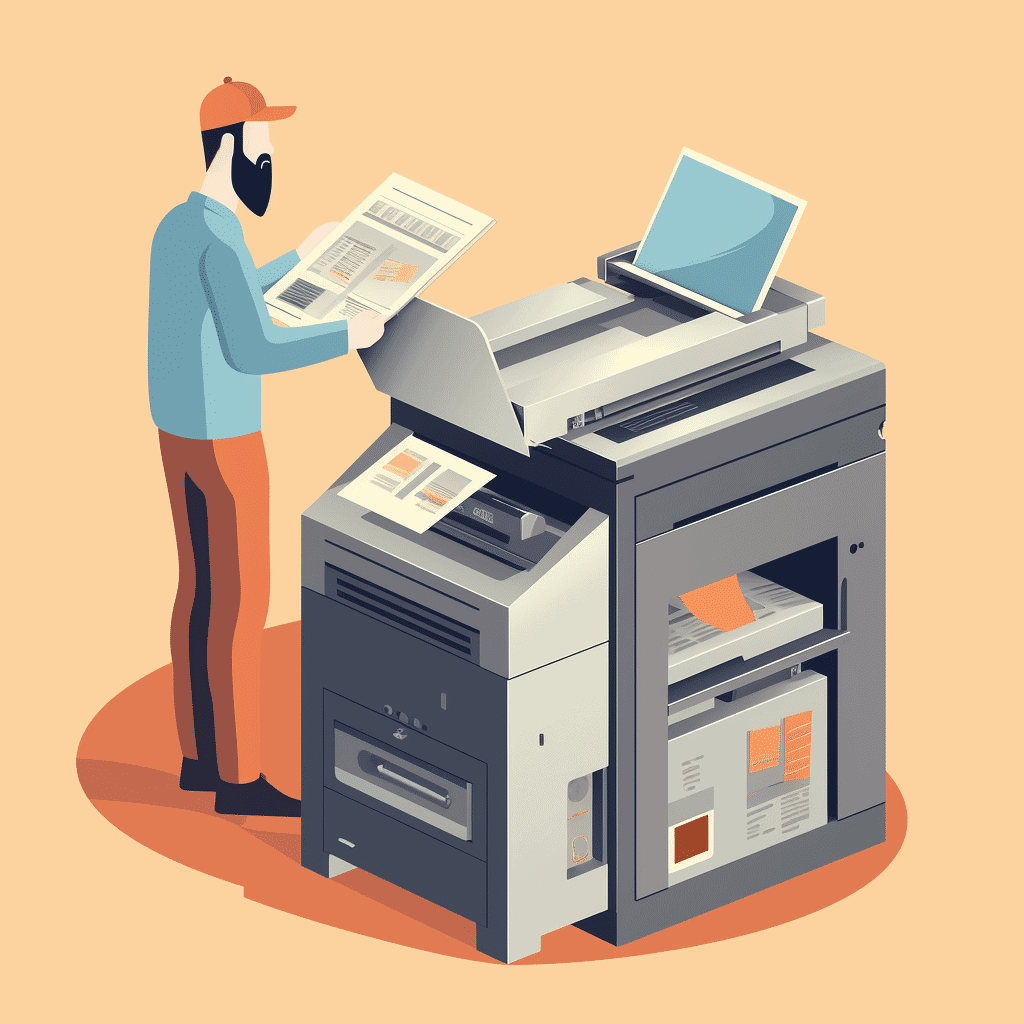
How to install and use a photocopier
The rise of new technologies has made our daily lives easier, including in the field of printers and photocopiers. Thus, it is now possible to print or copy documents quickly and easily. However, it is crucial to know how to install and use these devices to get the most out of them. This detailed guide will provide you with all the information you need to install and use a photocopier with complete peace of mind.
Go with confidence on the path to mastering your photocopier, thanks to the sound advice we have prepared for you. From choosing the printers suited to your needs, through the essential steps to connect them to a network via wifi or USB cable, to the selection and installation of the appropriate software on a Windows or Mac platform; this guide will accompany you throughout this technological adventure. You’ll learn how to configure essential settings wirelessly and master using the connect button to optimize performance and productivity. So don’t hesitate any longer, immerse yourself in this captivating universe where every detail counts to transform your printing projects into resounding successes!
Choosing the right material
First of all, it is essential to choose the printer or photocopier that suits your needs. Several factors should be considered when selecting the device:
– Printing capacity: number of pages per minute, print quality (resolution), supported paper size, etc.
– Features: automatic duplex, scanning, fax, etc.
– Connectivity: network, wifi, usb, etc.
– The cost of use: price of consumables (cartridges or toners), maintenance, warranty, etc.
After choosing the device that meets your expectations, it’s time to move on to installation.
Installing the photocopier: preliminary steps
Before proceeding with the actual installation, you must follow a few preliminary steps:
1. Unpack the device and check that all items are present (cables, user manual, software installation CD, etc.).
2. Remove the protections and transport seals.
3. Place the photocopier near the computer or network and an electrical outlet.
4. Insert consumables (cartridges or toners) following the manufacturer’s instructions.
Once these steps have been completed, it is time to move on to installing the photocopier on your computer.
Install the copier on a Windows computer
To install a photocopier on a Windows computer, here is the procedure to follow:
1. Connect the copier to the computer using a USB cable or by setting up the Wi-Fi connection according to the manufacturer’s instructions.
2. Insert the software installation CD into the computer and follow the instructions to install the driver.
3. If you don’t have a CD, go to the manufacturer’s website to download the driver for your printer model.
4. Once the driver is installed, click Start, then Devices and Printers and finally Add a Printer.
5. If you opted for a Wi-Fi connection, select your printer from the list of available devices and follow the instructions to complete the installation.
Install the photocopier on a Mac computer
Installing a photocopier on a Mac computer is similar to installing a copier on Windows:
1. Connect the copier to the computer using a USB cable or by setting up the Wi-Fi connection according to the manufacturer’s instructions.
2. Open System Preferences, then Printers & Scanners.
3. Click the + sign to add a new printer.
4. Find your printer in the list of available devices and select the appropriate driver.
5. Follow the instructions to complete the installation.
Set up and use the photocopier
Once the photocopier is installed, it is essential to configure the parameters correctly to optimize its use:
– Adjust the print quality according to your needs (draft, standard, high quality).
– Choose the appropriate paper size (A4, A3, photo, etc.).
– Activate or deactivate the automatic duplex function depending on the documents to be printed.
To use the photocopier, simply open the document to print, click File, then Print and select your printer from the drop-down list. If necessary, adjust the print settings by clicking Properties or Settings depending on the software used.
Ensure maintenance and upkeep of the photocopier
To ensure the proper functioning and longevity of your photocopier, it is essential to regularly carry out certain maintenance operations:
– Clean the paper feed rollers to avoid jams.
– Clean the scanner glass to ensure optimal scanning quality.
– Replace the consumables (cartridges or toners) according to the manufacturer’s instructions.
A Complete Guide to Mastering Using Your Photocopier
Thanks to this detailed guide, you now have all the keys to installing and using your photocopier with complete confidence. All you have to do is take full advantage of the features of your device and optimize your daily productivity. Do not hesitate to consult the user manual and online resources to deepen your knowledge and resolve any difficulties encountered.