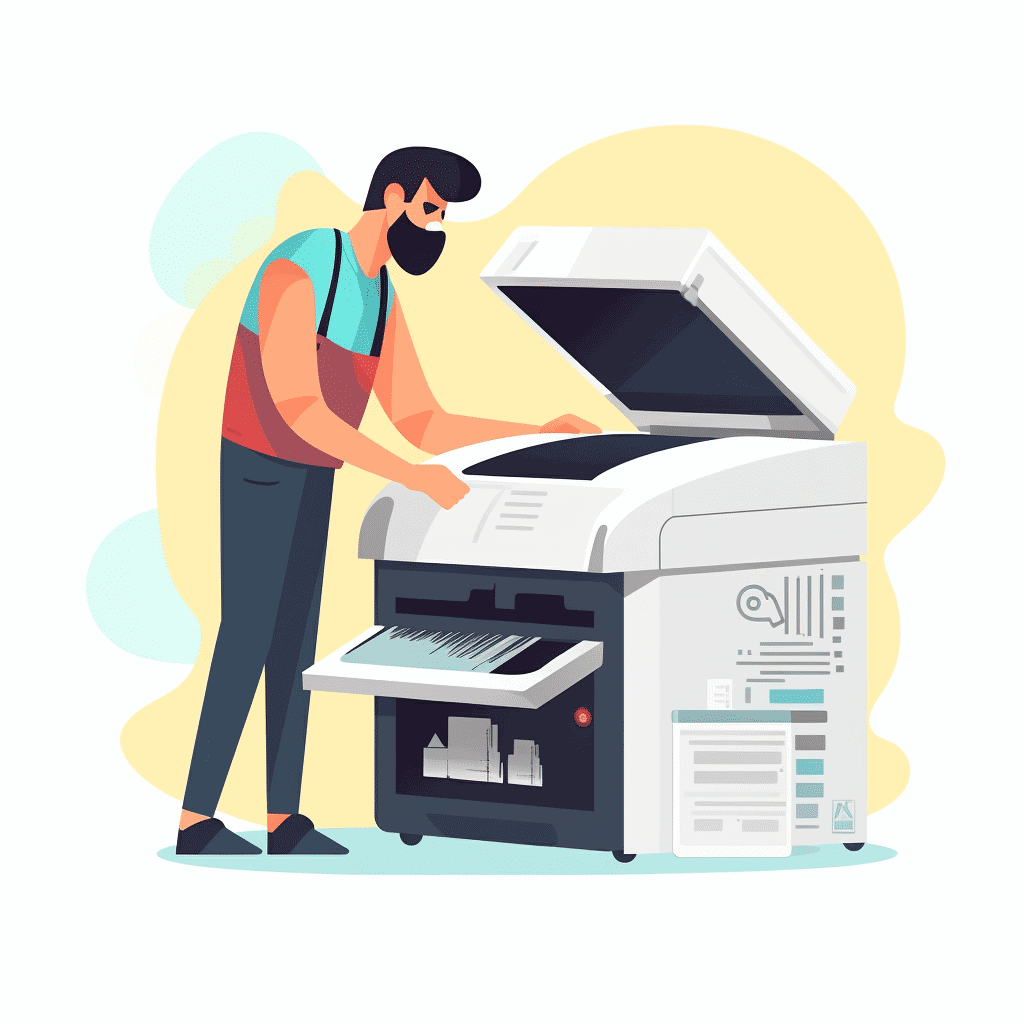
How to clean your professional printer
Having a clean and well-maintained professional printer is essential to ensure quality prints. Here is a complete guide to cleaning your device with ease.
Ensuring flawless prints is within reach thanks to a few maintenance tips for your printer, whether Brother or another brand. From drum to cartridges, heads and nozzles, discover how to optimize the quality of your prints while extending the life of your valuable professional unit. So don’t hesitate any longer and dive into the heart of the wonderful world of cleaning inkjet or laser printers: let yourself be guided step by step through the fascinating maze of paper feed rollers and other fixing systems to enhance your creations without no wire, no fuss!

Step 1: Prepare the printer before cleaning
Before starting cleaning, it is imperative to prepare your device. First, be sure to turn off the printer and unplug the power cord. Subsequently, remove all sheets of paper from the input tray to avoid any risk of jams during cleaning.
Step 2: Clean the exterior of the printer
To begin, use a soft, slightly damp cloth. Wipe it gently over the exterior surface of the device to remove dust and dirt. Be careful not to let moisture get inside the printer.
Step 3: Clean the ink cartridges or toners
Depending on your printer model, you will need to clean the ink cartridges or toners. To do this, carefully remove them from their location and wipe them with a soft, dry cloth to remove any ink or powder residue.
Step 4: Clean the Printheads
Print heads are key parts of the printer that can quickly become clogged. To clean them, you can use cotton balls soaked in isopropyl alcohol or specific cleaning kits available commercially.
Step 5: Clean the drum and laser units
On a laser printer, you will also need to clean the drum and laser units. Use a soft, dry cloth to gently wipe the surface of the drum and laser units, avoiding touching sensitive parts with your fingers.
Step 6: Clean the Fixing System and Paper Feed Rollers
The fixing system and paper feed rollers are likely to become clogged over time. To clean them, use a soft, dry cloth to gently wipe their surface.
Step 7: Clean the inkjet printer nozzles
To ensure optimal print quality on an inkjet printer, it is essential to clean the nozzles regularly. To do this, follow the manufacturer’s instructions or use a specific cleaning kit.
Step 8: Maintain your printer regularly to extend its lifespan
Regular cleaning not only ensures quality prints, but also extends the life of the device. Schedule maintenance every three to six months, depending on how often you use the printer.
Equip yourself for successful cleaning
To successfully clean your professional printer, it is essential to have the right tools. Here is a non-exhaustive list of items you may need:
- Soft, dry cloths
- Cotton wool sticks
- Isopropyl alcohol
- Specific cleaning kits for print heads or nozzles
By following these steps and valuable tips, your professional printer will be given a new lease of life and will continue to provide you with impeccable prints. So take care of your equipment to optimize its performance and longevity.

Leave a Reply